
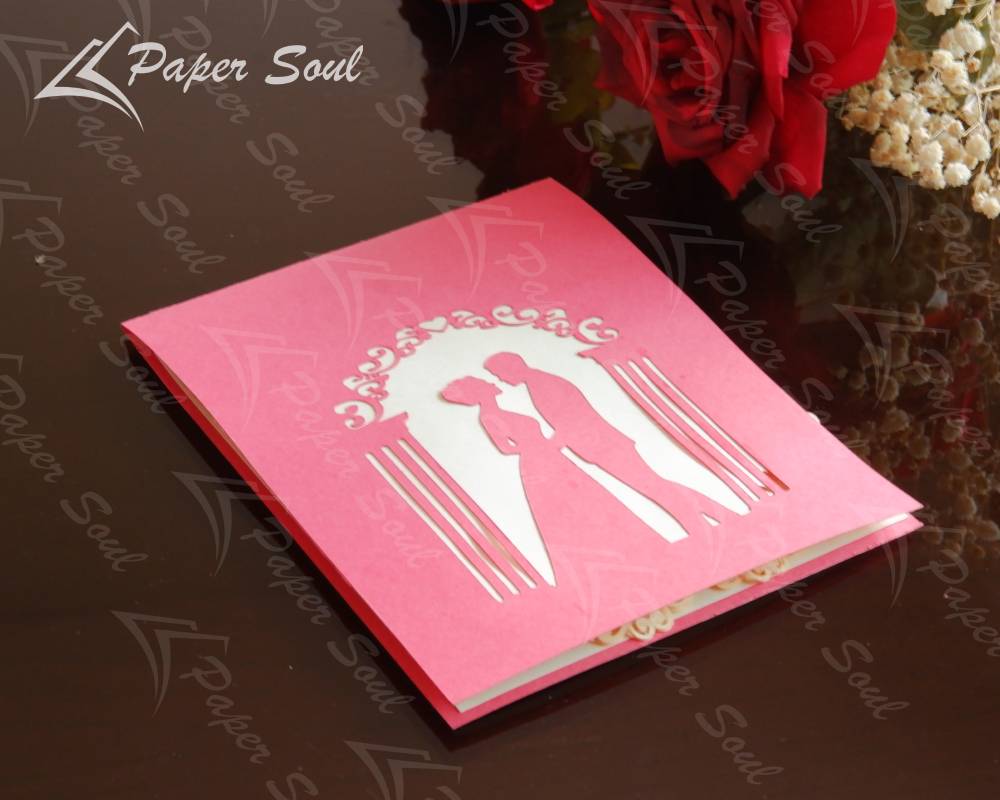
If you’re a papercraft lover who is looking for a meaningful gift for the bride and groom? Then, this tutorial on how to make a wedding pop up card may be useful to you. When the card opens, the bride and groom under a gazebo pops up. Includes white space inside so that you can write a note. This card is a perfect impressive gift with your best wedding wishes for the bride and groom.
Dimension of the example card
The size of the example card is 5.5” x 6.7”.
Tools and materials
Before making this card, we’ll need to prepare some tools and materials. Tools and materials needed are:
- Cardstock
I recommend using 250 gsm cardstock. We will need 4 pieces of A4 cardstock including:
- 1 red for the bride and groom
- 1 red for the card cover
- 1 white for the card base
- 1 beige for the Gazebo
2. Glue
3. Double-sided tape
4. The bride and groom pop up card template (Download here)
DOWNLOAD THE BRIDE AND GROOM CARD TEMPLATE
First, you’ll need to download the template of the pop up card. You can download the template from this page: https://papersoulcraft.com/product/pop-up-wedding-card-svg/
This is a paid template (only 4.99 $). After your payment is confirmed, there is a page including a link to download the template. You can also go to your email inbox to find the link.
You will receive a ZIP folder with the cutting file in the following formats:
- SVG – Scalable Vector Graphics – for Silhouette Designer Edition, Cricut Explore, Corel Draw, Adobe Suite, Inkspace (can be used with many different cutting programs, including Cricut Design Space)
- PDF – Adobe PDF (print this file for hand cutting)
- PNG (Transparent Background)
If you don’t know how to extract the file, please watch the tutorial video here
If you have any issues or questions, please feel free to ask here.

How to make a wedding pop up card
After downloading the template, you can cut out the template with your Cricut machine. There are 4 steps to make this card.
- Assemble the Gazebo
- Stick the Gazebo to the base
- Make the card cover
- Stick the base to the cover
For more step-by-step guides, please watch the tutorial video on how to make a wedding pop up card from our Youtube channel
Notes when making this card
- Spread glue evenly on the patterns when applying glue on the card cover. You can use a brush to spread glue on the card more evenly.
- Put a glossy paper underneath the cover before spreading glue on it. That helps the small patterns on the cover will not be torn
- Be careful when sticking the cover to the base. You should stick the base on the cover.
This is a tutorial on how to make a wedding pop up card. We hope you’ll have joy and relax time while making this project. Don’t forget to let us know how your experience went. We’d love to hear it. You can leave your comment below.
Thank you for reading this tutorial. Have a great day.
