

Interactive Card Tutorial: How to Make a Moving DIY Halloween Ghost Pop-Up Card
Looking for a fun, moving paper craft project this season? In this interactive card tutorial, we are making a charming DIY Halloween interactive card that brings real motion to your handmade greetings. The best part? The moment you open the card, three friendly little ghosts slowly peek out from behind a haunted house!
This project is beginner-friendly, takes only about 15 to 20 minutes to assemble, and works seamlessly with your Cricut, Silhouette, Brother cutting machine, or a simple craft knife.
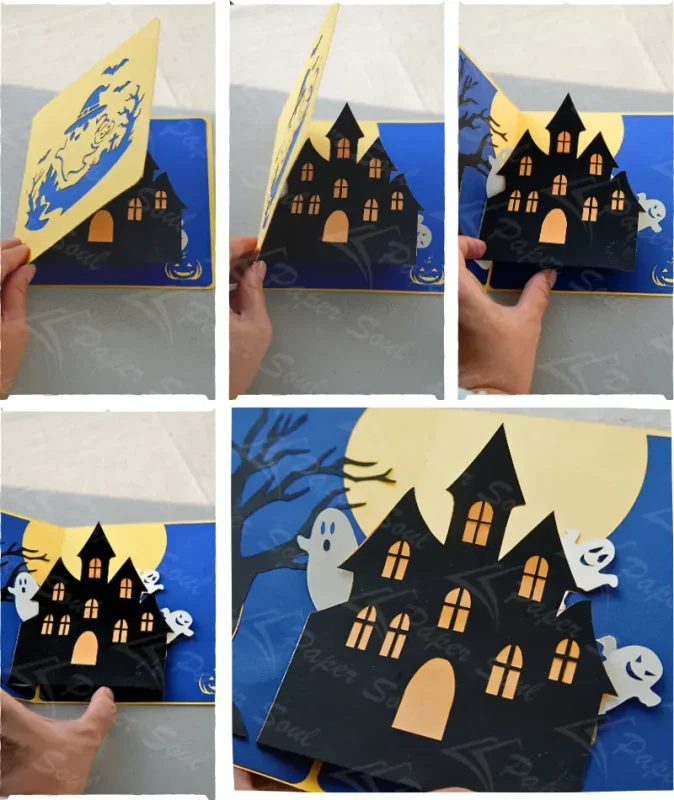
What You Need for This Project
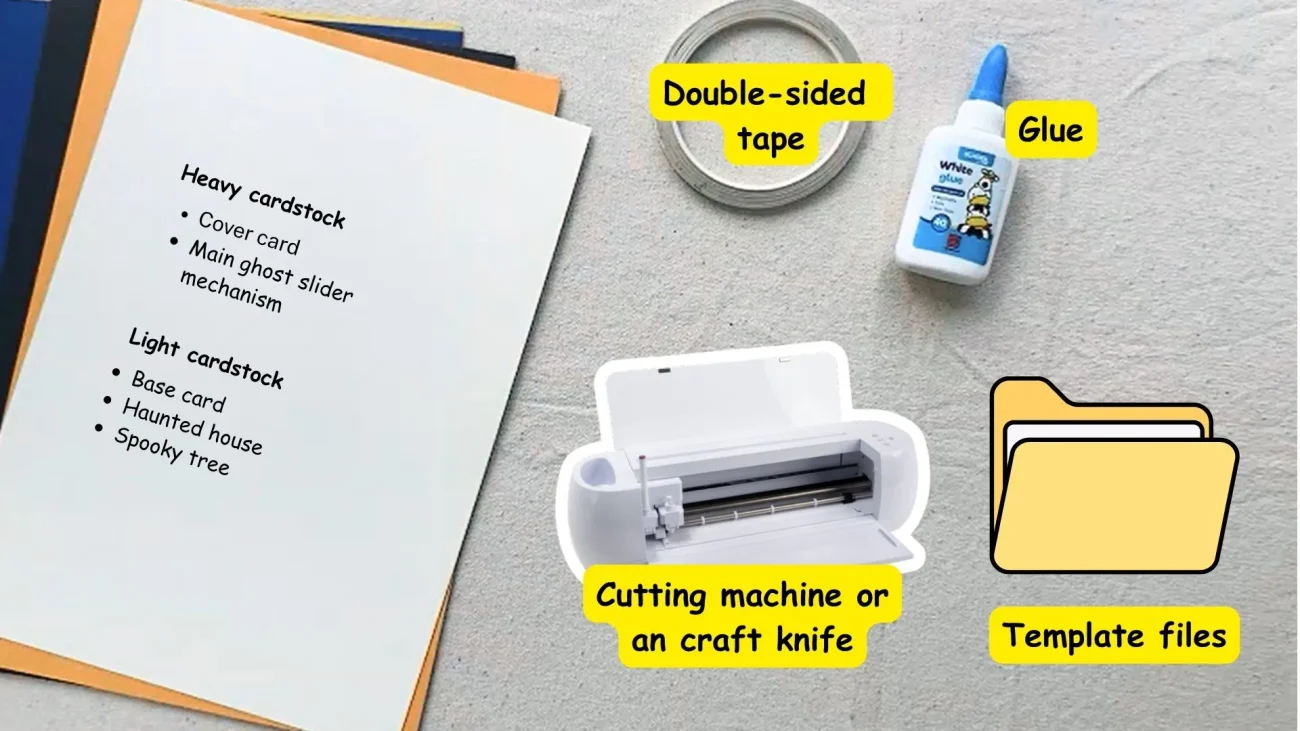
Before starting, prepare your cutting files and paper supplies. Using the right paper weight will help your moving slider slide smoothly without bending.
| Supply / Tool | Recommended Type | Purpose |
| Heavy Cardstock | ~204 gsm | Outer cover & main ghost slider mechanism |
| Light Cardstock | ~124 gsm | Haunted house, spooky tree, and card base |
| Adhesive | Double-sided tape & liquid craft glue | Clean bonding and strong mechanical joints |
| Cutting Equipment | Cricut, Silhouette, Brother, or Craft Knife | Clean cuts for intricate details and slots |
| Template File | SVG / PNG / PDF cut files | Pre-measured pieces with score lines |
📥 Get the Cutting Files: You can download the complete template package (SVG, PNG, and PDF) right here: Download the Interactive Ghost Card Template
Quick Assembly Overview (4 Steps)
- Score and Fold the Ghosts: Cut your pieces, then fold the ghost mechanism along the dotted lines. Fold down the ghosts so they sit neatly in place before attaching to the base.
- Layer the House & Tree: Glue the black pieces onto the orange backing to create the haunted house and spooky tree.
- Attach the Slider Mechanism: Thread the ghost mechanism tabs through the matching slots on the card base and secure them on the back with double-sided tape.
- Mount Cover & Details: Fasten the haunted house over the front of the mechanism, secure the assembled base inside the folded outer cover, and add the tree beside the house.
Watch the Full Step-by-Step Video Walkthrough
If you prefer watching the assembly in real time or want to see every fold up close, check out the complete visual tutorial here:
▶️ Watch the full guide on Paper Soul channel: Make a REAL Moving Pop-Up Card for Halloween! | Paper Soul Craft
Frequently Asked Questions
Can I make this interactive card without a cutting machine?
Yes! You can print the template PDF on your home printer and hand-cut the outlines with a craft knife.
How long does this project take from start to finish?
Cutting the cardstock takes about 5 minutes on a machine, and assembling the folds and tape takes around 15 minutes. It is a quick and satisfying weekend craft!
Crafting dimensional, moving cards doesn’t have to be complicated or time-consuming. With just a few simple folds and some cardstock, you can create a keepsake that brings genuine smiles and surprise to friends, family, or students. Grab your template, fire up your cutting machine, and have a wonderfully cozy time crafting your own haunted house card. Happy Halloween crafting!